
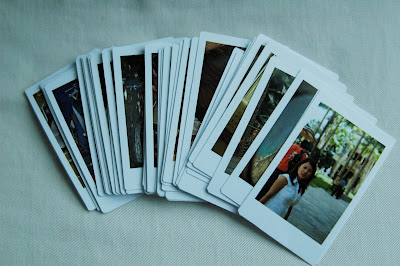
 I love how the little mini photos look from my fujifilm pivi printer that I had to create some faux ones for the new travel mini art journal. Why did I have to do that when I have a printer that prints out this size? I'm finally getting around to documenting our Hawaii trip from 2008 - that's why! LOL. And because the fujifilm printer can only print photos directly from my camera, I couldn't get my old photos that are already on my computer back onto the memory card.
 I was able to fit 2 of these little guys to one 4x6 photo print. Here's how I did it:
1. Check to see what size your photos are (in inches) by opening one in PS. Then click on IMAGE->IMAGE SIZE. Mine are vertical (portrait) photos that are 6.7"x10".
2. Next requires a little math skill:). You'll need a new canvas size that will allow you to fit 2 of your images. I created one that is 24"x16" for my size photos. Because I want to print the new "photos" as 6x4s, I need the new canvas size to be a larger version of 6x4. That's how 24x16 came about (it's a multiple of 6x4). And because 24x16 fits two 6.7x10. See photo below. To create new canvas: go to FILE->NEW and enter your dimensions of 24 for width and 16 for height. Make sure that the resolution in the new canvas size (usually 300dpi) is the same as your photos or you won't be able to do the next step.

3. To get your original photos into the new canvas, you'll have to use the drag & drop them. To do this, first open the original photos that you want to put into your new canvas. Click on the "MOVE" tool on your tool bar. With your mouse, left click & hold then drag your photo to the new canvas and position it where you want. Do this with 2 photos.
4. Save your new canvas as a jpg. Because the new canvas is quite large in size, you might want to save it at a lower resolution so that it's easier to upload to your photo lab.
5. Upload to your photo lab or print at home. Trim photos leaving white space around it. I trimmed the sides to leave about 1/4" white space, the top to be a little more than 1/4" and the bottom about 1/2".
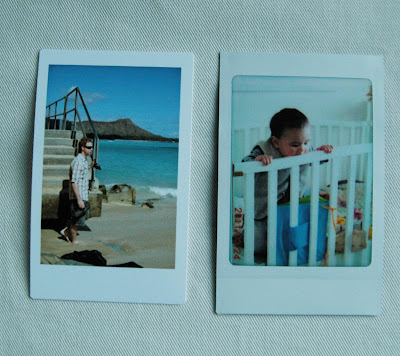 Here's a size comparison of the faux instax photo (left) and the instax photo from the fujifilm PIVI printer (right).
7 comments:
Great idea!
What size did you make the actual photo when you moved them in order to get them to print with that much white space?
Hi Kelli:)
I kept the original photos as is and just made the new canvas BIG
(16"x24") to accommodate 2 of the originals. That way, I didn't have to resize the original all the time (way more work that's not needed). When I was done moving the originals to the new canvas, I didn't even resize. Bc the new size is just a larger version of 4x6, the photolab will print it as is. Did have to save it at a lower resolution though so that it didn't take so long to upload to lab.
so inspired by your journal!! it's fabulous! i am just barely putting together my 2008 san francisco photo-journal. thank you for sharing your journal. i love it.
Thank you thank you thank you! I've been trying to figure out how I was going to talk my husband in to letting me get an instax camera! Problem solved!So cool!
Hi! I love my Pivi printer too
I heard there's an easy way to print your old photos (ones you have moved to your computer), using an infra red device.
It's a bit old fashioned, I mean, everybody are using bluetooth or others.
My friend told me it's waaaaay easier using the infra red.
I'm still looking for one for myself tho.. I hope I canfind one and start printing for my PC!! :P
love your blog :)
Hi, thanks for sharing these amazing thoughts on Instax Camera. I will use these thing.......
Read about scientific paper writing, mate, you will definitely like this guide!
Post a Comment