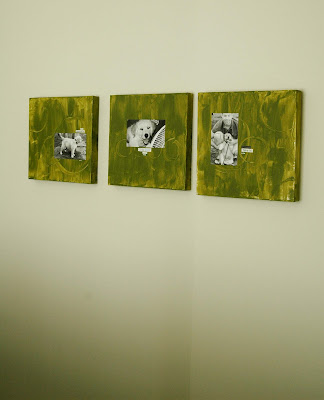
I made these for our home 2 years ago when we first moved in. It's hanging in our upstairs hallway wall right outside our bedroom. Me and Eddie wanted something personal, artsy & canvasy/oil painting like but didn't want to spend $200+. So I gathered some 12x12 canvases (1.5" deep) and went to town. Here's what I did:
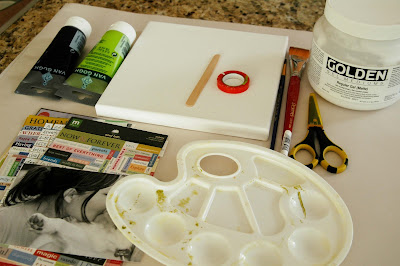
1. Gather these supplies: canvas, acrylic paint, popsicle stick, Thermoweb tape, fine paint brush, large paint brush, acrylic matte medium (from art supply stores/?Michael's), word stickers, photo, paper plate or painter's palette, scissors.
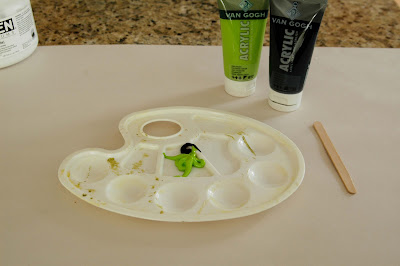
2. They didn't have a green that I liked so I picked a bright one and black. Mix main colour with a drop of black (start with less black and add more to make it the shade you want).
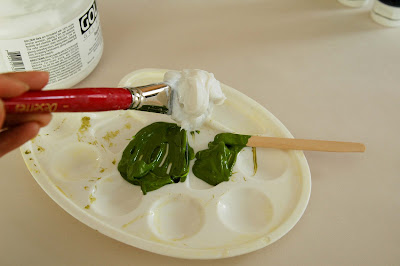
3. Move some paint off to the side then scoop a glob of acrylic matte medium and mix it with some of your paint. You can always add more AMM to create a thicker substance. The thicker your mix, the more texture you're gonna end up with. When the mix dries, you'll get raised areas where there are more of this mix painted on. A super cool effect! AMM is used for this technique because it has properties that allows it to retain it's dimension when it dries so i don't know if something like Modge Podge can replace it. I haven't tried using the latter.
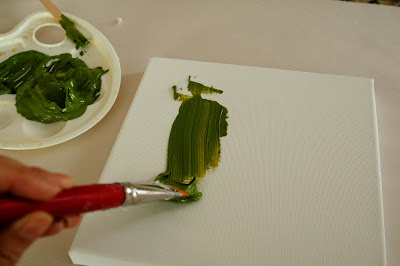
4. Paint your mix onto canvas. Cover sides of canvas also. Leave some areas of canvas not completely painted to give it tone and dimension.
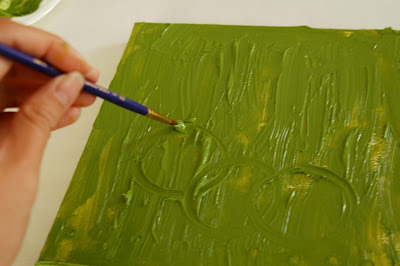
5. Use small paint brush to draw shapes or words onto canvas. Use a lighter stroke where you want more raised areas.

6. Allow to dry for several hours.
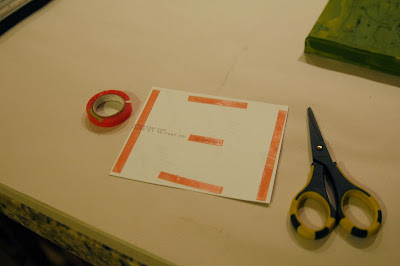
7. Trim your photo to fit onto canvas. Cut Thermoweb double sided tape (love this stuff - perfect for 3D projects or when I want a strong bond) and adhere to back of photo.
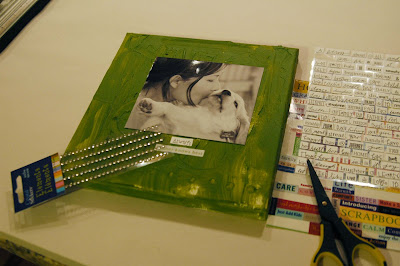
8. When canvas is dry, adhere photo onto it. Adhere word stickers under photo. Embellish canvas with whatever else you like. I wanted to add a little bling so cut out a small strip of rhinestone stickers and adhered it under the words.
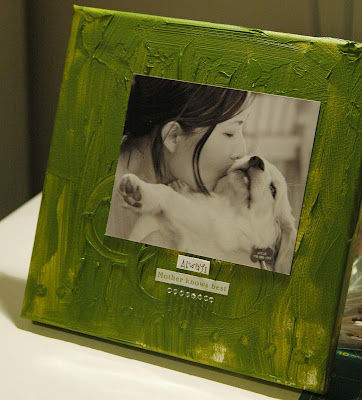
This is what the completed project looks like. The canvas surface is quite matte but if you want it shiny, brush of coat of glossy Modge Podge on it. This is a great way to display extra photos that you may have printed and will probably never use otherwise. Makes great simple gifts for the upcoming holiday season too:).

 I made these for our home 2 years ago when we first moved in. It's hanging in our upstairs hallway wall right outside our bedroom. Me and Eddie wanted something personal, artsy & canvasy/oil painting like but didn't want to spend $200+. So I gathered some 12x12 canvases (1.5" deep) and went to town. Here's what I did:
 1. Gather these supplies: canvas, acrylic paint, popsicle stick, Thermoweb tape, fine paint brush, large paint brush, acrylic matte medium (from art supply stores/?Michael's), word stickers, photo, paper plate or painter's palette, scissors.
 2. They didn't have a green that I liked so I picked a bright one and black. Mix main colour with a drop of black (start with less black and add more to make it the shade you want).
 3. Move some paint off to the side then scoop a glob of acrylic matte medium and mix it with some of your paint. You can always add more AMM to create a thicker substance. The thicker your mix, the more texture you're gonna end up with. When the mix dries, you'll get raised areas where there are more of this mix painted on. A super cool effect! AMM is used for this technique because it has properties that allows it to retain it's dimension when it dries so i don't know if something like Modge Podge can replace it. I haven't tried using the latter.
 4. Paint your mix onto canvas. Cover sides of canvas also. Leave some areas of canvas not completely painted to give it tone and dimension.
 5. Use small paint brush to draw shapes or words onto canvas. Use a lighter stroke where you want more raised areas.
 6. Allow to dry for several hours.
 7. Trim your photo to fit onto canvas. Cut Thermoweb double sided tape (love this stuff - perfect for 3D projects or when I want a strong bond) and adhere to back of photo.
 8. When canvas is dry, adhere photo onto it. Adhere word stickers under photo. Embellish canvas with whatever else you like. I wanted to add a little bling so cut out a small strip of rhinestone stickers and adhered it under the words.
 This is what the completed project looks like. The canvas surface is quite matte but if you want it shiny, brush of coat of glossy Modge Podge on it. This is a great way to display extra photos that you may have printed and will probably never use otherwise. Makes great simple gifts for the upcoming holiday season too:).
12 comments:
Love this, so going to do this for some Christmas gifts.... the kids could help too.
Got your email, it is at my home addie so I'll respond from there (tonight hopefully).
I always want to do something like this but I never exactly know what to do so I'll definitely be using this in the near future! Thank you!!
I loove this! I've had some 12x12 canvas that I've wanted to do an arrangement of four in a big square but wasn't sure where to start! This is perfect! Thanks so much!
love these! Beautiful job, Eva! You totally rock :)
Also wanted to let you know that I love the new look of your website and blog - very nice!
they are gorgeous, love playing with canvases!
Looks great! I bought some smaller canvases and have never done anything with them. Now I'm inspired.
I'm so glad you're finding this tutorial helpful ladies! yay!
Very cool! I absolutely love it.
These are great! Thanks so much for the class, I'm definitely trying this and I have AMM, but didn't know I could use it for that.
Nice!!
I love your how-to sections (:
thanks for sharing them!
i really don't know how I came across your blog, but i'm so glad I did!! I am hooked!! I love all of your crafty tutorials!!
-your newest follower
Post a Comment