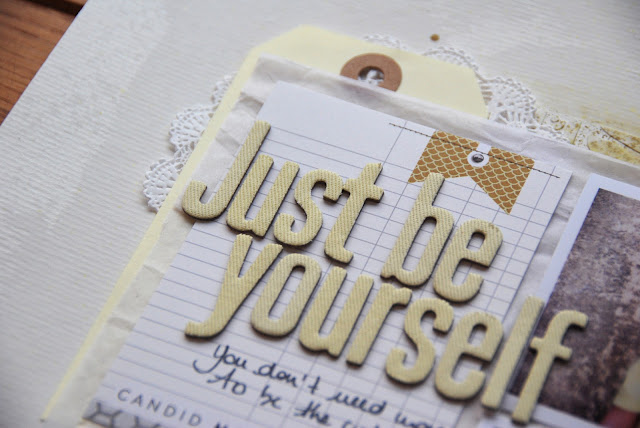
It's monday today which means it's tutorial day!
And today, I (Emmanuelle) decided to show you step by step how I create a layout with a mixed-media background .
So first of all I always collect all the supplies I will need.
I chose the pictures, the Evalicious supplies I am planing to use, and shipping tag, doily, white thread, silkpaper and emboidrery ribbon (as you see, no real scrapbooking supplies except the Evalicious ones). For this kind of layout I use watercolor paper, really thick (300gr/m²)or you can use normal cardstock but you need to glu a piece of cardboard underneath to avoid the cardstock to crinckle.
You will need also a stencil, gesso, molding paste, and a heatgun (if you are as impatient as me)
The first step is to apply a thin layer of gesso all over the area you want to play with. I use a knife but you can use an old credit card.
Once the gesso is completly dry (this is really important!), spread water on the area you want to color using a brush. And then to apply the watercolor on the paper, just charge your brush with water color (or some spray ink diluted with water) and just touch the wet area with your brush, or let some drops of watercolor fall on your paper. The color will spread into the water to create a really cool effect.
If you want to use several colors and if you don't want them to mix together too much, you have to wait until the first one is completly dry to use the second.
For this layout I chose to not wait so that my yellow and beige will mix together. Always remember to think about how the mix of your colors will look like (some colors are very nice but won't work if you mix them like green and red)
As I am not patient enough, I didn't wait long enough to play with my watercolor. The gesso wasn't completly dry and you can see on the left bottom corner that it makes some small bubbles.

Again, wait until it's dry to place your stencil (this whole tutorial is about waiting, haha). I use washi tape to keep it in place. And then spread some molding paste all over the stencil (be careful not to spread outside of it). The paste will fill all the little holes to create a very nice volume effect.
And this is how it looks like after you remove the stencil.
You can stop the process here and use the background without adding anything else, or you can add more colors once the molding paste layer is dry.
I chose to let some tiny drops of brown ink fall on the paper, to spray once with yellow mist and to immediatly hold my page vertically to let the ink flow down. I also spray once with the beige mist and as it was too visible around the stencil area I washed the color away using some water and wiping it.
Then you can work on your picture and arrange all the elements together.
Finally it's time to glu this montage on your background, to add your title and journaling and your layout is ready!
Evalicious supplies:
so daily V3 badge buttons
so daily snipsnip labels
so daily large tags
dennison label snipsnip tags
It was a very long step to step tutorial but I hope you enjoyed it and that you will give mixed-media background a try. And don't forget to share your evalicious projects with us in our flickr gallery.
-Emmanuelle-


12 comments:
thanks for the tuto! great page ^^ ladylauscrap.
Wonderful tutorial, Emmanuelle. Thanks for the modeling paste idea!
That's awesome, tfs!
It's always lovely to see how others put a page together and this was a great tutorial, thanks for taking the time to do the step by step for us.
It was a great tut....shame to have to cover up such a gorgeous bg & popping on the colour before the modeling paste was an eye opener for me...so thanks for sharing:):):)
Now I have to buy modeling paste!!! Beautiful, absolutely beautiful. *love*
Wonderful tutorial, tks so much for share.
THANKS FOR THE TUTO, beautiful layout!
Very neat idea with that background!
Awesome tutorial, Emmanuelle! The background is so beautiful!
If you should be opting for finest contents like me, just visit this blog site daily because it provides the feature contents, thanks.
Blogger website
That’s a nice site you people are carrying out there.
Yolasite web site
Post a Comment