

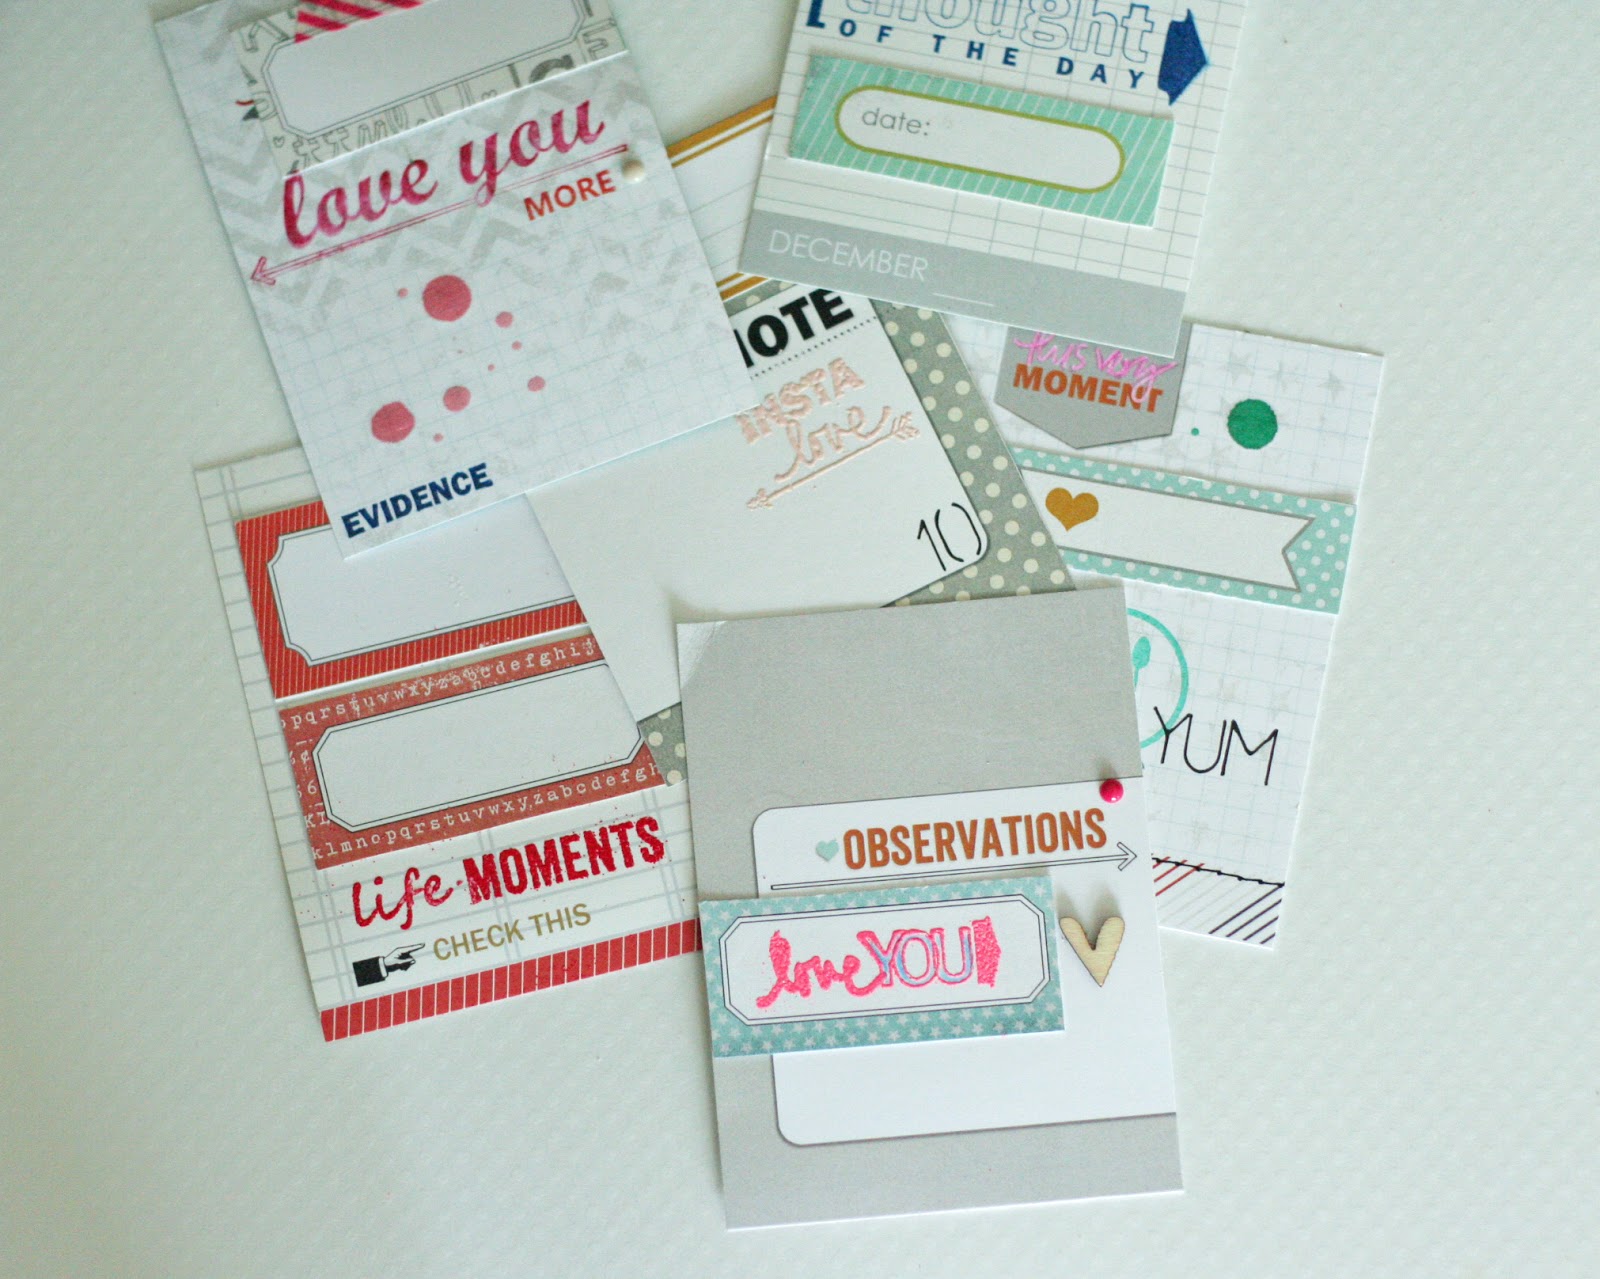
I was inspired by the colors, tones and patterns in the above ad, while making project life and layout journaling cards for upcoming projects. The snipsnip labels are perfect to use for inspiration such as the above because they are the perfect size and pattern to add to any project for extra pizazz. I decided to add additional dimension by embossing my stamped images and used a few other techniques to add some additional flair!

supplies needed: scissors // embossing powder(s) // heating tool // rubber stamps // paper tags // ink pads // acrylic block(s) // colored pencils // 3x4 journaling cards

I used a variety of stamp sizes and designs to versify each card since they are all similar in colors but the graphics provided by the stamps make each card unique. This is what I love about stamping, each stamp will always be used differently dependent on the person.

If you are new to stamping, try using a line acrylic block first to make sure your stamping is accurate. I also love to use this type on word stamps especially. I have a variety of different size blocks for my rubber stamps but these two are my favorite to use.

On this card I added texture to the insta-love stamp by heat embossing it. I love heat embossed stamped images because it adds shine and raises the image up from the paper to reveal a shiny and textured image. To emboss follow these steps:
- Mount your rubber stamp to your acrylic block. Stamp onto a watermark ink pad (make sure not to add too much ink because it will cause stamp to slide when stamping).
- Stamp onto card using firm, even pressure. The stamped image will be clear.
- Sprinkle embossing powder over the stamp design, I always apply more because I want to make sure the image is fully covered and opaque. Tap extra powder back into container and brush away excess powder with a paint sponge or brush if you have one.
- Hold a heating gun about two inches from your card, any closer and the paper will burn. I like to pass the heat over the image back and forth (wave) so the image doesn't get overly hot.
- Once you see the image starting to raise up and become shiny stop applying heat.

On a journaling card from the escape large tags set, I added color to the design with a colored pencil in a vibrant pink accent color. I love using colored pencils because they provided a light wash of color without being overbearing to a design color palette. This is also the perfect way to make "white space" disappear if you are not a fan. I used a chalk ink on the i eat stamp because it created a softer image.

I used a StazOn ink pad on the card to the right because I love that this ink is solvent based and permanent as soon as you raise your stamp off of the card. It provides crisp, vibrant images every time! The new thought of the day stamp is a perfect customizable stamp to use with colored pencils as well!
Love mixing more than one color on a stamp, on the I love your more stamp, I mixed read and orange to create an ombre effect. On the life moments card I kept it monochromatic with each element, embossing, snipsnip labels and journaling card.
 shopevalicious products used //
escape large tags // love you lots snipsnip labels // love your lots 3x4 tags // real life snipsnip 3x4 tags // this christmas large tags // insta love stamp // thought journal prompt stamp set // fill in the banner stamp set // i eat stamp // love you stamp // dennison label snipsnip tags
shopevalicious products used //
escape large tags // love you lots snipsnip labels // love your lots 3x4 tags // real life snipsnip 3x4 tags // this christmas large tags // insta love stamp // thought journal prompt stamp set // fill in the banner stamp set // i eat stamp // love you stamp // dennison label snipsnip tags
Above is the complete mix of cards I created, I can't wait to add them to my projects. Please remember to share your projects,I can't wait to see what you will make with some of these techniques and tips. Share your projects in our Flickr gallery. Have a wonderful week!
2 comments:
Awesome...Thanks for sharing....hugs..x
I wonder why different professionals don't take action your website overmuch m happy I got this.
Wordpress web
Post a Comment