Showing posts with label Photo Shoot collection. Show all posts

Friday, April 17, 2015

Plaza de la Constitucion | Inspiration

Hi everyone! Rona here, with a colourful layout using some of the "Hello" Evalicious line. I love the colours, and it goes great with some of the travel papers I picked out for my trip. I am in LOVE with the orangey-red.

Last time I posted, I mentioned the 47 Spain layouts I have to do. Well, I've now gone through and whittled my 1300 photos down to 300-ish, and allocated each to a layout and a sketch.


I pulled out the Days of the Week stamp set again and stamped on to a photo shoot snipsnip label, to continue with my labeling for this album. A badge button and some yummy puffy stickers finished off this little embellishment cluster on the lower left of the page.


The size of the navy alphas puffy stickers is perfect for long titles (they're a half inch tall, by the way).


I added in a camera love shape clip in the upper right because I love the different texture it adds to the page. (By the way, they're on SALE right now!!)


I thought it would be fun to put a big round Hello 2014 puffy sticker on top of a photo shoot round tag. Yeah, it was. :) I think only us paper crafters will get that. I gave it a thin outline with a black pen to increase the contrast a little.


And the whole enchilada (Well, tapas, technically. We didn't find enchiladas in Spain.).

Thanks again for looking!

Rona
46 layouts to go...


Evalicious products used:
hello 2014 miscellany v1 puffy stickers
hello 2014 miscellany v2 puffy stickers
miscellany shapes puffy stickers
navy alphas puffy stickers
field notes snipsnip labels
camera love shape clips
photo shoot badge buttons v1
photo shoot snipsnip labels
photo shoot round tags
days of the week stamp set

Friday, April 10, 2015

Destination | Inspiration

20150405-IMG_5498_Evalicious_CN

Hello there, Evalicious fans!  Christine here today to show you a layout I created using mainly stamping as my background. 

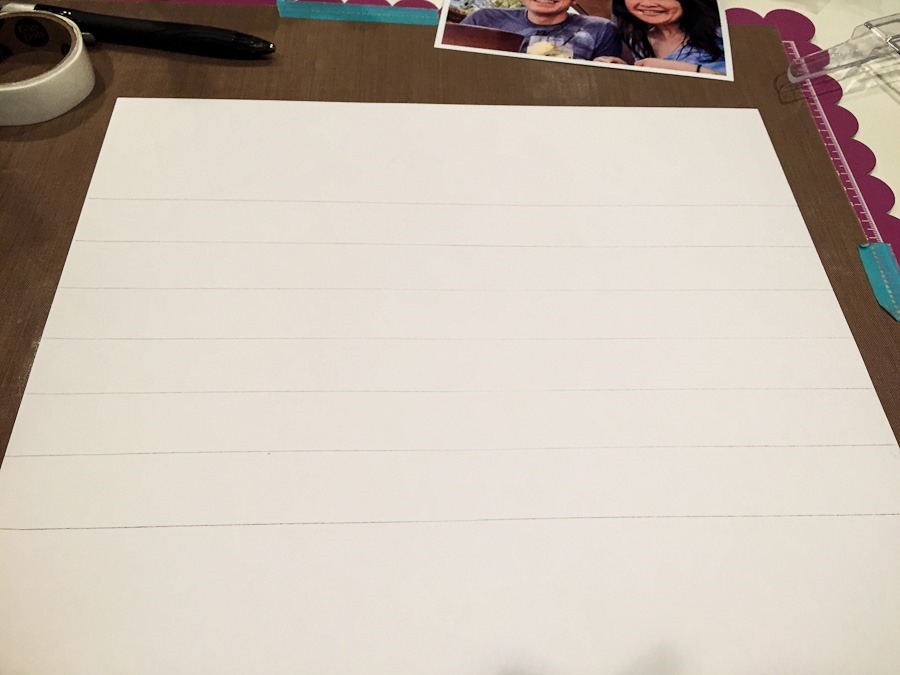
I started with a white cardstock background and drew some horizontal lines in pencil with my t-square ruler.
20150405-2015-04-05 15.44.35_Evalicious_CN

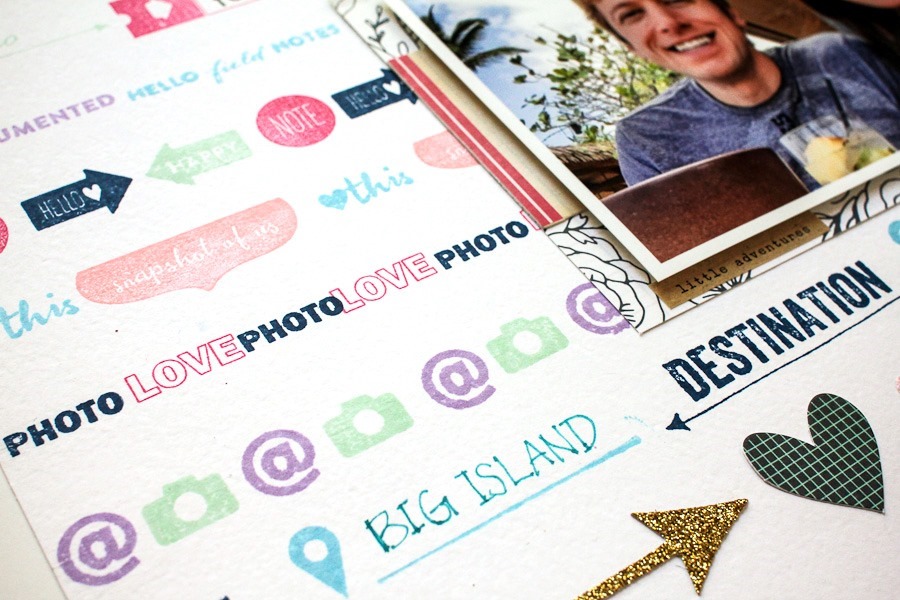
Then I picked out some Evalicious stamps and stamped in alternating colors across each line. 

20150405-2015-04-05 15.53.06_Evalicious_CN

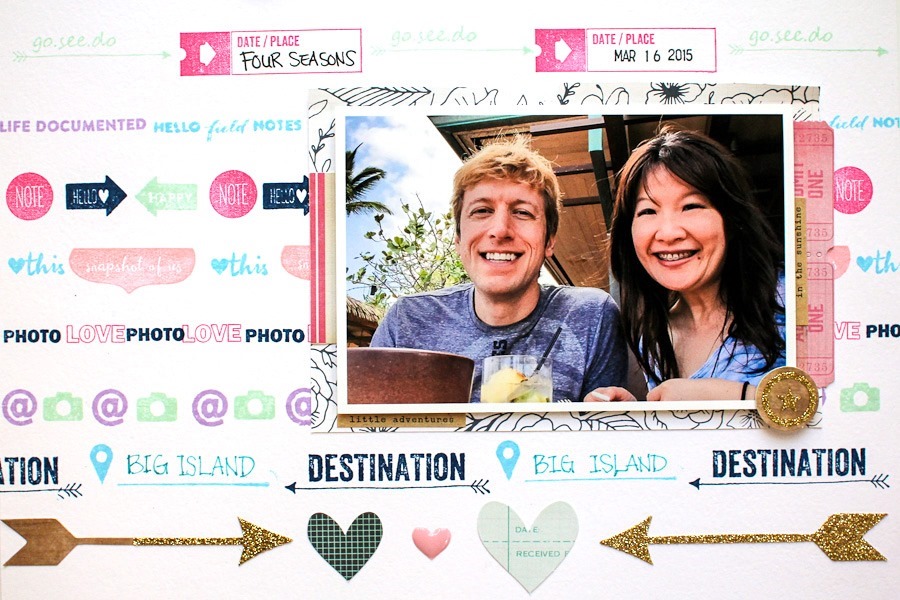
When I was done, I had a colorful stamped background for my layout.  I added some paper strips in matching colors across the top and bottom of my layout to anchor and balance.

20150405-2015-04-05 16.25.11_Evalicious_CN

I filled in the “Date / Place” stamped images with the information from our trip.  On our trip to the Big Island of Hawaii, we celebrated my birthday with lunch at the Four Seasons.

20150405-IMG_5490_CLN_900

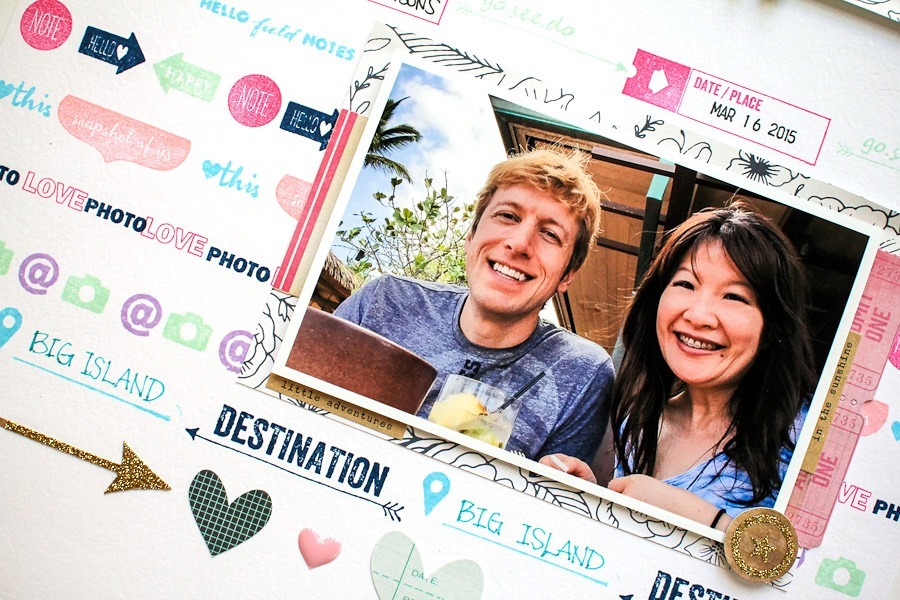
I added some paper and embellishments around my photo to make it stand out from the stamped background.
20150405-IMG_5493_Evalicious_CN

I love how the stamped background turned out!
20150405-IMG_5496_Evalicious_CN

Try stamping a background next time you make a layout!  Evalicious has lots of travel and everyday stamps that are just perfect for this purpose.

Hope you enjoyed having a look at my process of putting this layout together!  Thanks for stopping by!

Christine

Evalicious Products Used:


destination stamp set

daily life stamp set

field notes stamp set

photo shoot clear stamp set

adventurer stamp set

Monday, April 6, 2015

Project Life 2015 Week 11 & 12 | Inspiration

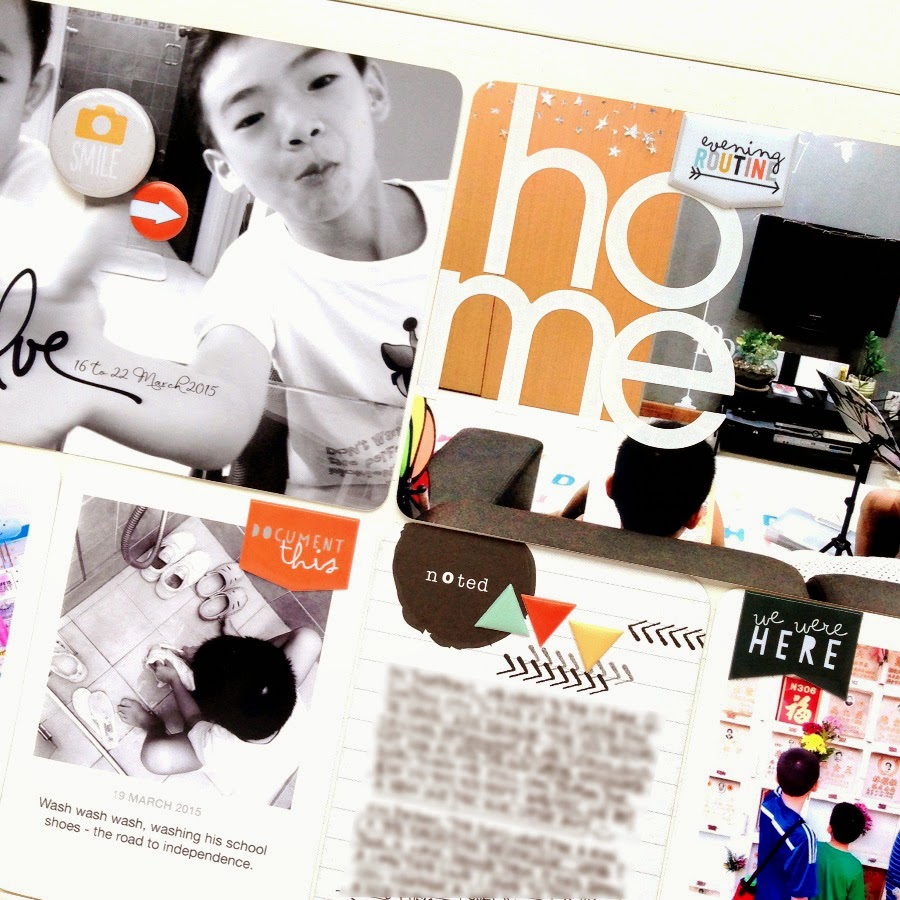
Hello lovelies! This is Rachel here today to share with you another 2 weeks of my Project Life documented.


In these 2 weeks, besides filling my spreads with lots of Evalicious yummy goodies, I tired bringing in the elements of alpha stickers as well as printed vellum paper and layered them over my photos. And was I delighted to have created such fun layouts!


Among the many puffy stickers which I adore, my favourite has to be the Banner Love Puffy Stickers when comes to creating my Project Life spreads. These cute banner puffy stickers with many meaning words effortlessly bring out the best of the photographs and PL cards when added.


Besides using digital images on our photos, one fun way to achieve the added layer of elements on our photos is to print them on vellum paper, trim them out and layer them above our photos, without the fear of damaging the photos if we were to do direct stamping and not satisfied with the result. What I did was to print out multiple images in varies sizes on vellum papers and keep them aside for future projects.


And when you find that the journaling card was too plain to your liking, spice it up with some stamping and puffy stickers!


I hope you enjoyed what I shared with you here. Have a lovely day and thank you for looking!

Love,
Rach


Evalicious products used:

Friday, April 3, 2015

Court of the Myrtles | Inspiration

Hola! Rona back again using some Evalicious loveliness on a layout fresh from a trip to Spain!


One amazing place that we visited was Alhambra in Granada, the most visited tourist attraction in Spain.  And for good reason--it's stunning. A photographer's (and scrapbooker's) dream. I really wanted to do it justice, and so the embellishing on this layout is a bit more clean and simple than I usually do.

I used woodgrain in various pieces: the puffy alpha, the arrow, the tag, as well as the snip snip tag in the corner. Having a natural look to the embellishments complemented the photos nicely, without overwhelming them. I love how it turned out.


I used the "photo love" piece from the Photo Shoot Wood Veneers. It wasn't exactly the colour I wanted, so I white washed it with a bit of acrylic paint. Perfecto!


I printed the journaling onto a Photo Shoot Large Tag. To do this, I first made a rectangle text box on a document. I added two triangle shapes to it to block out the lower right and left corners of the rectangle, so that the text would be shaped to the point at the bottom. By the way, one trick I have is that I change the zoom on my screen so that the document width is exactly the same as a real 8 1/2 x 11 sheet... then I just hold up the tag to the screen to check that the size is right and that the text will fit properly before I print. Next, I print to a plain piece of paper. The last step is to use some washi or repositionable tape to put the tag directly over the text on the paper that just printed and run it through the printer again. I carefully remove the tape, and the journaling card is complete.


A stamp on the lower corner so that I'd remember the day, and I'm done. I plan to stamp all of my Spain layouts with this date stamp to bring the album together.


Thanks again for looking! Now, on to the next 46 Spain layouts....

Rona


Evalicious products used:
woodgrain alphas puffy stickers
photo shoot wood veneer
photo shoot large tags
field notes snipsnip page tabs
field notes snipsnip labels
field notes puffy stickers V1
field notes puffy stickers V2
field notes badge buttons v1
days of the week stamp set